

DIY: FLOWER BACKPACK
- Shiny Abbott
- 12 feb 2021
- 2 Min. de lectura


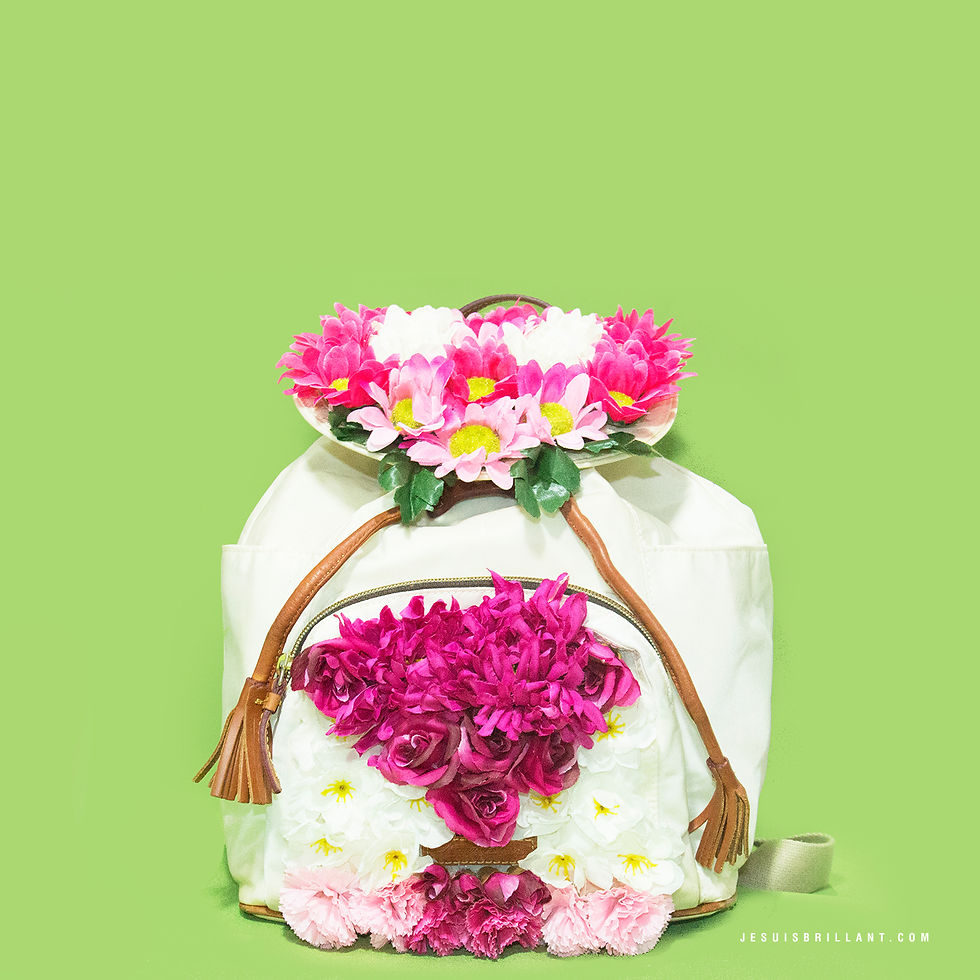
ESP :: Primavera primavera! Todavía es primavera y por qué no realizar otro DIY con flores?! (Y probablemente no sea el último de esta temporada, jajaja!). Esta vez es una mochila decorada con flores. Esta mochila originalmente la cual es blanca con bordes en color marrón, al ponerla a lavar, el marrón se esparció a los espacios blancos frontales de esta, después de 6 meses sin saber que hacer con ella (no me gusta regalar/donar cosas dañadas o con defectos) haciendo unas coronas de flores dije... "Las flores pueden tapar lo marrón de esta" y así surgió este DIY!
Qué necesitarás?
- Una mochila
- Flores plásticas
- Silicona caliente
ENG :: Spring spring! It's still spring so I've gotta do another DIY with flowers... I mean.. WHY NOT!? (and probably this isn't the last one, hahha!) This time I've done a backpack decorated wth flowers. Originally, this backpack was white color with brown borders, but when I tempted to wash it for the first time, the brown color of the borders spread all over the white part in the front of it and after 6 months of not knowing what to do about it (I don't like to giveaway/donate broken/blemish stuff to another people) making a flower crown I said "Flowers can cover the brown color blemish" and that's how I came up with this DIY!
What will you need?
- A backpack
- Plastic flowers
- Hot glue
PASO A PASO // STEP BY STEP
1 - Corta el tallo de manera que solo quede la flor
1 - Cut the stem so it will only be the flower itself
2 - Mide dónde vas a poner cada flor y comienza a pegar
2 - Place them in the backpack and start gluing the flowers
3 - Y voila! Fácil cierto?!
3 - And voila! Easy huh?!


Keep on crafting,


Comentarios